How To Make Pillowcase Pants
Supplies Needed:
One pillow case
Elastic to reach around your childs waist ½” wide
Lets Get Started:
Wash and iron a pillow case. Lay it out right side out. Mark the pillow case on the right side on both sides with a small pin or piece of tape. Measure your child from waist to ankle. Add 1 ¼” to the length measurement for the elastic casing at the waistband. Measuring from the hem end, cut off the sewn short end of the pillow to match your new length measurement. Dont cut the hem end as this will serve as the pants hem. Now that you have the correct length you can cut out the crotch area. Take an existing pair of pants and find the back crotch area. Lay this along the long edge, starting with the waistband and moving about 1” down so you dont count the waistband in this measurement. Mark for a scissors or use a rotary cutter and cut along the long edge to make the crotch. Take the piece you cut off and use it as a template for the other side. The sample has a crotch cut of 3” at the waistband and 9 ½” long for a size 4/5 child. Next we will slightly tailor the legs so they arent so large. Place one end of a long rule at the bottom of the crotch and place the other end 3” in from the edge of the hem on the same side as the crotch. Cut this piece off. Do this on the other side as well.
With right sides together and crotch curve to crotch curve, sew together. Repeat with the other side.
Now is a good time to sew the waist band elastic on by turning under ¼” then again 1”down. It helps to iron this first. You can either sew the elastic shut with a machine and just sew it into the casing in one step or sew the casing then open the seam and string the elastic through with a large safety pin, sew the elastic closed with a machine and slip stitch the hole closed. A fitting of the crotch area to see if you need to cut it lower would be a good idea at this time as well. Decorations, while the pants legs are open are much easier to apply now rather than later. Sewing down the sides or across the hem are a couple of ideas that could be used. To complete the pants just sew the leg seam from ankle to ankle.
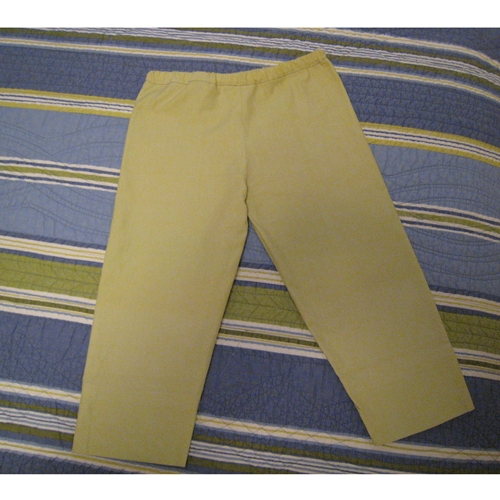
Congratulations you have made an attractive pair of pants for a child.